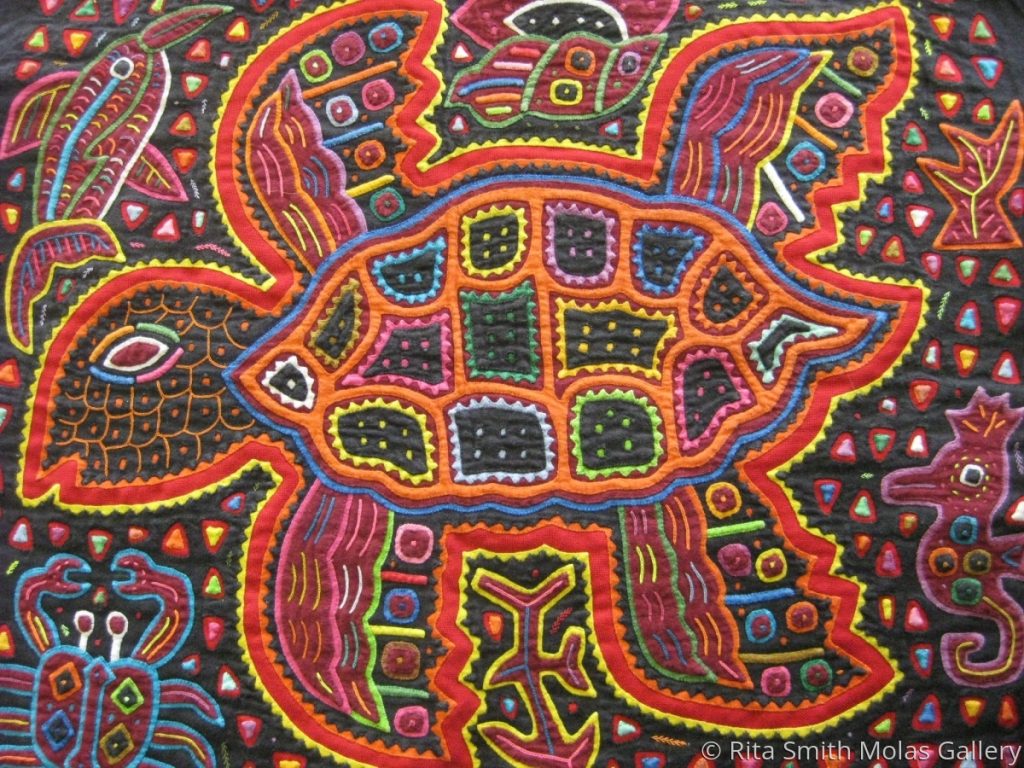
History and Significance
The mola or molas, forms part of the traditional outfit of a Kuna woman in Panama. Two mola panels belong together as front and back panels in a blouse. The full costume traditionally includes a patterned wrapped skirt (saburet), a red and yellow headscarf (musue), arm and leg beads (wini), a gold nose ring (olasu) and earrings in addition to the mola blouse (dulemor).
In Dulegaya, the Kuna’s native language, “mola” means “shirt” or “clothing”. The mola originated with the tradition of Kuna women painting their bodies with geometric designs, using available natural colors; in later years these same designs were woven in cotton, and later still, sewn using cloth bought from the European settlers of Panamá.
How to create a paper Mola
- Step 1: Pick or create a stencil. To create a stencil, sketch out the shape of the animal or object you would like to create then cut it out.
- Step 2: Pick a color of construction paper that you would like your shape to be then trace around your stencil onto the construction paper.
- Step 3: Pick the next color of construction paper and glue the paper(s) you just cut out onto the center of it.
- Step 4: Trace a boarder 1 inch away from the shape you pasted all the way around on the new construction paper then cut it out.
- Step 5: Repeat step 3 & 4 a few more times until the colored boarders around the shape have been built up to your liking.
- Step 6: Paste the shape onto your last piece of construction paper. If any parts of your shape are hanging off the last paper, cut them off.
- Step 7: Use your scrap construction paper and markers to add detail to your shape and designs to the background.
- Step 8: Show off your awesome paper Mola!!! Feel free to leave your stencil for others to use.
